


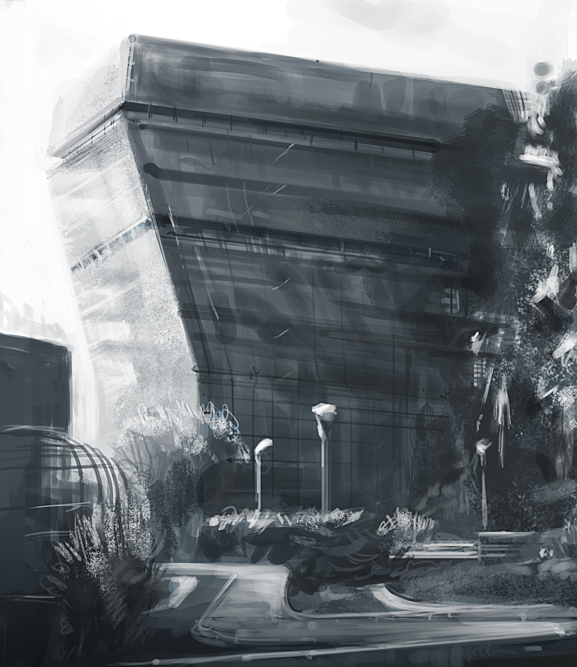
Hello again. Here's a sketch I did in value for fun and practice. I actually feel more comfortable sketching in black and white because you can really pick out subtle changes in tone. This is a favorite excercise I like to do. I should really do more of these after looking at Robh Ruppel's blog. Damn he's inspiring!
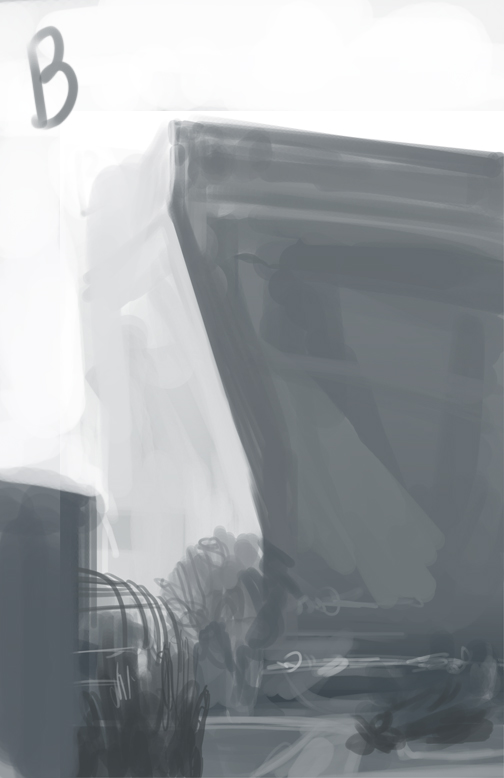
Above are images of various stages of how I usually start a sketch. The idea here is to block in the the big shapes initially (A). In PhotoShop, I usually do everything in a single layer. Don't worry about getting everything perfect. Just keep it loose. "Loose as a goose" is a good thing to tell yourself I guess. However, you're still in control with where you place things except with wider scope if that makes sense. The important thing at this stage is to establish composition and perspective if you're dealing with a complex scene. Like Mr. Mullins put it, "it's a controlled fall."
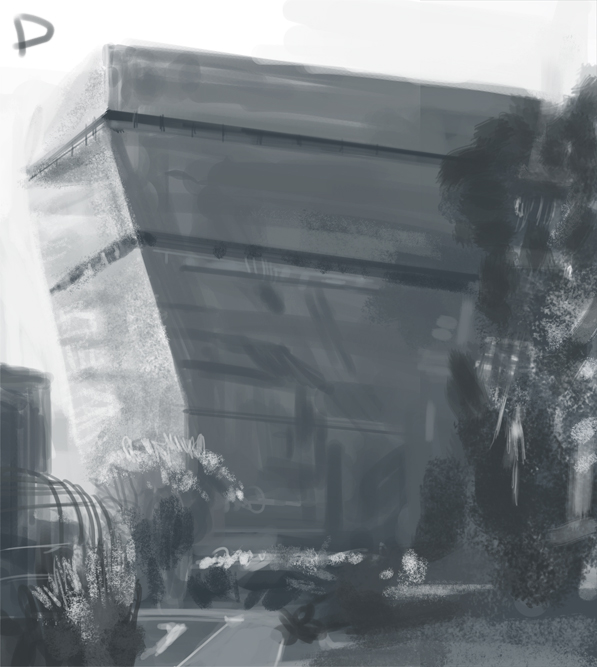
Once you're happy with the composition, you want to establish the light source. In this example, I established it early on from the left. (B) From here on details will gradually come in, but make sure to keep your comp in check. One thing I like to do is to flip it horizontally often to see if anything is off. Comp D places more detail into the scene and refining some areas. At some point, the comp will have to be readjusted (in my case) because I painted over too much in an area or I needed to fix the composition.
A good analogy to getting a sketch like this down to the end(subjective) is like fishing. You want to keep the line loose when you get the initial bite and then reel it in slowly into the net. Better yet, it's like waiting for a polaroid photo to come into focus. Nonetheless, take your time to observe the details and relax.

2 comments:
you should demo at the gnomon workshop next year.
I don't get it. Why didn't you include the letter "E" in your last image?
hehe... Nice stuff wildcat. Roar.
Post a Comment